Showing posts with label #wpdev. Show all posts

Saturday, 31 August 2013

Add side menus to an Windows Phone application (similar to the Facebook app)

     It is been a while since my last post, but I have a good reason (on the 20th of July - so tired that the first time I've mistaken the date by one month -  my son Mattia was born and between work and my duties and no sleep there is not much time left for writing on my blog even if I have a lot of posts that I want to do).  
     I will get right to the subject (the title is not one of the best chosen). A few days ago I was talking with my friend Alessandro Scardova about the possibility of implementing side menus inside an Windows Phone application (similar to the ones in the Facebook application). Even if not 100%"Modern UI" design it is a good approach for applications that have multiple options that need to be accessed quickly (also the approach can be applied cross-platform). So I took it as a challange and tried to implement it.
     My initial thought was that I might be able to implement it using an templated panorama or pivot, but after some tests I was not able to get the desired behaviour:


  • when we start the application we will have the selected ViewPort selected
  • swiping left or right we can open/close the side menus
  • also using the buttons on the upper left and on the right corners we can also close and open the side menus
  • the side menus have a width smaller than 480 this way, when opened, we can still see a part of main viewport (including the upper button)
  • when opening the menus the ApplicationBar is not visible
     The solution I have implemented (doesn't use MVVM pattern) it is more a proof of concept on how to implement the functionality. The approach is pretty simple. We have the whole view that we move inside a canvas using manipulations and animations. Initially I thought that I can use only  grid without the canvas and animate the margin of the grid but, as Windows Phone doesn't have ThicknessAnimation, my animations for opening and closing the menus were not very smooth. Also I've tried implementing the swipe behaviour using the Touch.FrameReported event but the results I got were not very good.

     So how does my implementation work:
  • I have a canvas/grid that has a width of 1320 and the height stretches to the whole available height that contains my whole view
  • The view is inserted in a canvas with initial Canvas.Left position set to -420 this way we see the main view port (component)
  • The "stable" positions inside the canvas are:  0: left menu opened, -420: main view and -840:right menu opened
  • When pressing the buttons we will use a resource Storyboard with a  DoubleAnimation to set the the Canvas.Left position inside the canvas to 0,-420 or -840:
  <Canvas.Resources>  
<Storyboard x:Name="moveAnimation">
<DoubleAnimation Duration="0:0:0.2" To="0" Storyboard.TargetProperty="(Canvas.Left)" Storyboard.TargetName="LayoutRoot" d:IsOptimized="True" />
</Storyboard>
</Canvas.Resources>

Use the animation to open/close the menus:
  void MoveViewWindow(double left)  
{
_viewMoved = true;
if (left==-420)
ApplicationBar.IsVisible = true;
else
ApplicationBar.IsVisible = false;
((Storyboard)canvas.Resources["moveAnimation"]).SkipToFill();
((DoubleAnimation)((Storyboard)canvas.Resources["moveAnimation"]).Children[0]).To = left;
((Storyboard)canvas.Resources["moveAnimation"]).Begin();
}

  • To implement the swipe I use the ManipulationStarted, ManipulationDelta and ManipulationEnded on the canvas container. On delta we set the Canvas.Left value directly (no need for animations) between a maximum of 0 and a minimum of -840.
  private void canvas_ManipulationDelta(object sender, ManipulationDeltaEventArgs e)  
{
if (e.DeltaManipulation.Translation.X != 0)
Canvas.SetLeft(LayoutRoot, Math.Min(Math.Max(-840, Canvas.GetLeft(LayoutRoot) + e.DeltaManipulation.Translation.X), 0));
}

  • when swiping we also memorize the initial Canvas.Left position. If substracting the final Canvas.Left and the initial one the absolute value is lower then 100 (not a long swipe) we bounce back to the initial position. Otherwise we move to the next position.
  private void canvas_ManipulationCompleted(object sender, ManipulationCompletedEventArgs e)  
{
var left = Canvas.GetLeft(LayoutRoot);
if (_viewMoved)
return;
if (Math.Abs(initialPosition - left) < 100)
{
//bouncing back
MoveViewWindow(initialPosition);
return;
}
//change of state
if (initialPosition - left > 0)
{
//slide to the left
if (initialPosition > -420)
MoveViewWindow(-420);
else
MoveViewWindow(-840);
}
else
{
//slide to the right
if (initialPosition< -420)
MoveViewWindow(-420);
else
MoveViewWindow(0);
}
}


  • _viewMoved is used to see if the view was already moved by another event since our manipulation started (like a button was pressed)
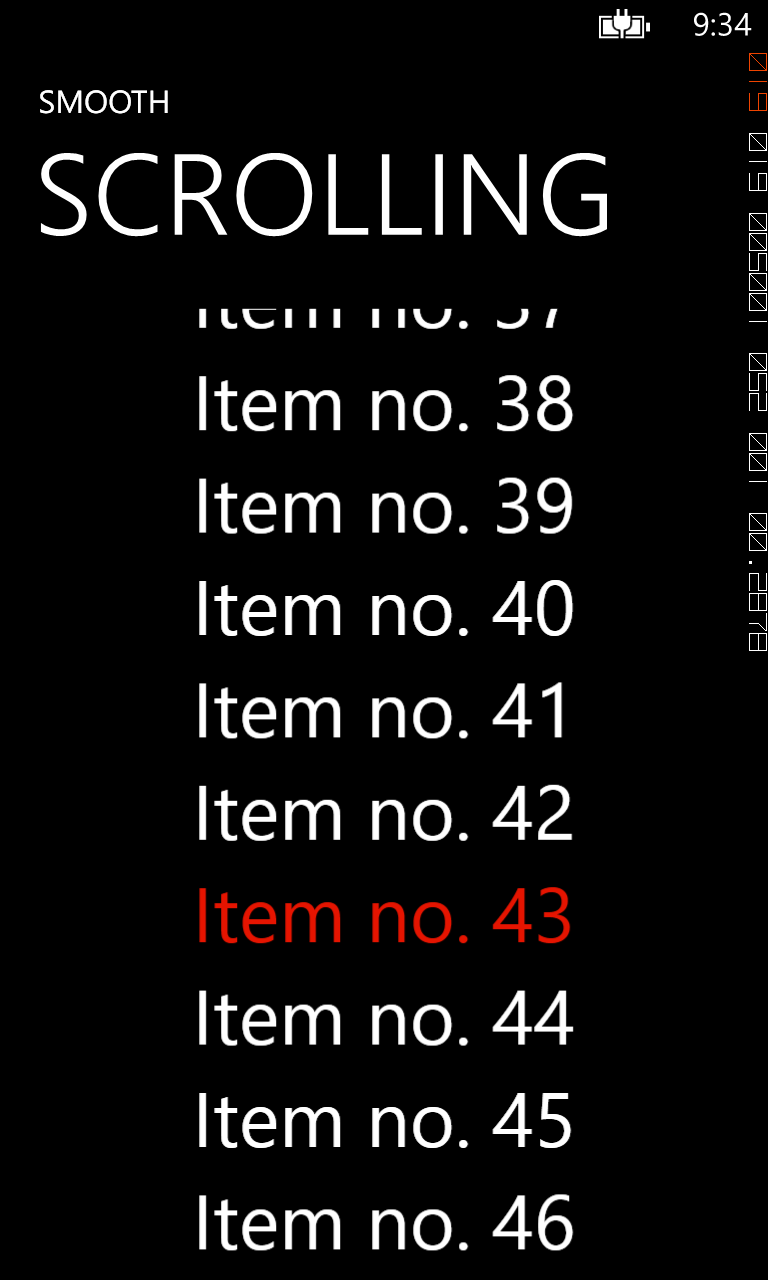
   Here are some screenshots from the sample that you can download and play with:

   Hope you will find it useful.

Here is the SOURCE CODE

NAMASTE!

Tuesday, 2 April 2013

Smooth scrolling content on Windows Phone

     Gotta say that I am not 100% satisfied about the title of this blog post, but since I haven't found a better one I will use this one (don't get it wrong windows phone has smooth scrolling implemented). This post is focusing on how to smooth scroll the content of a ScrollViewer. If you are using the ScrollViewer you know that it already has the method ScrollToVerticalOffset that can be used to manually scroll the content but this method doesn't have any animation implemented so you will see only a fast redraw of the new content without getting the "feeling" that the content scrolled to the new position. The easiest way to achieve this task would be using a StoryBoard with an Animation on the property VerticalOffset of the ScrollViewer, but VerticalOffset is a read-only property so it cannot be set and therefore cannot be used for animation.
     The solution I found was to build a custom control and add a custom property that can be used as a target for a DoubleAnimation. The attached sample (see the link at the end of the post) is using a ListBox as the content of my Custom Control but you can use anything else inside the control (a better approach for the ListBox would be to create a custom control derived directly from ListBox and use the built-in ScrollViewer). 
      Let's start from the XAML part of the User Control:

  <ScrollViewer x:Name="scroller">  
<ContentPresenter Content="{Binding ContentArea, ElementName=userControl}"/>
</ScrollViewer>

    So we have a ScrollViewer which inside has a ContentPreseter that has its content binded to the control's property ContentArea. Now let us have a look at the .cs code.

 public static readonly DependencyProperty VerticalOffsetProperty = DependencyProperty.Register("VerticalOffset",  
typeof(double), typeof(SmoothScroller), new PropertyMetadata(VerticalOffsetPropertyChanged));
public double VerticalOffset
{
get { return (double)this.GetValue(VerticalOffsetProperty); }
set { this.SetValue(VerticalOffsetProperty, value); }
}
private static void VerticalOffsetPropertyChanged(object sender, DependencyPropertyChangedEventArgs args)
{
SmoothScroller cThis = sender as SmoothScroller;
cThis.scroller.ScrollToVerticalOffset((double)args.NewValue);
}
public static readonly DependencyProperty ContentAreaProperty = DependencyProperty.Register("ContentArea", typeof(object), typeof(SmoothScroller), null);
public object ContentArea
{
get { return (object)GetValue(ContentAreaProperty); }
set { SetValue(ContentAreaProperty, value); }
}

     The property that we will use for animation is the VerticalOffset that uses the method VerticalOffsetPropertyChanged to scroll to a vertical offset inside the control's scroller. The property VerticalOffset can be animated and we will use it to smooth scroll the ListBox content.
     Here is the content of the MainPage.xaml

  <uc:SmoothScroller x:Name="smoothScroller">  
<uc:SmoothScroller.ContentArea>
<ListBox x:Name="lstItems" ItemsSource="{Binding Items}" ScrollViewer.VerticalScrollBarVisibility="Disabled" ScrollViewer.HorizontalScrollBarVisibility="Disabled" ItemTemplate="{StaticResource DataTemplate}" >
<ListBox.ItemContainerStyle>
<Style TargetType="ListBoxItem">
<Setter Property="HorizontalContentAlignment" Value="Stretch"></Setter>
</Style>
</ListBox.ItemContainerStyle>
</ListBox>
</uc:SmoothScroller.ContentArea>
</uc:SmoothScroller>

     So we have the SmoothScroller control which inside its ContentArea has a ListBox (the ListBox has it's scrollviewer disabled). What the sample does is it is changing the selected item every second (incrementing the selectedindex) and scrolls the content so that the newly SelectedItem is centered in the ScrollViewer. Here is the code used for scrolling:

  void dt_Tick(object sender, EventArgs e)  
{
((ListBox)smoothScroller.ContentArea).SelectedIndex = idx;
var container = ((ListBox)smoothScroller.ContentArea).ItemContainerGenerator.ContainerFromIndex(idx) as FrameworkElement;
var transform = container.TransformToVisual(smoothScroller.scroller);
var elementLocation = transform.Transform(new Point(0, 0));
double newVerticalOffset = elementLocation.Y + smoothScroller.scroller.VerticalOffset - smoothScroller.scroller.ActualHeight / 2 ;
//Animate transition
DoubleAnimation verticalAnimation = new DoubleAnimation();
verticalAnimation.From = smoothScroller.scroller.VerticalOffset;
verticalAnimation.To = newVerticalOffset;
verticalAnimation.Duration = new Duration(TimeSpan.FromMilliseconds(500));
var sb = new Storyboard();
sb.Children.Add(verticalAnimation);
Storyboard.SetTarget(verticalAnimation, smoothScroller);
Storyboard.SetTargetProperty(verticalAnimation, new PropertyPath(SmoothScroller.VerticalOffsetProperty));
sb.Begin();
idx++;
if (idx >= 56)
dt.Stop();
}

     Pretty basic: select the new index in the ListBox, calculate the new VerticalOffset so that the newly selected item is centered in our scrollviewer and create and start a 500ms animation for the SmoothScroller.VerticalOffsetProperty. Anyway I am sure that you will better understand how it works when you will try the sample code.
     The sample is far from perfect (before starting a new animation I should check if the old one finished, should not automatically scroll when the user is manipulating the list,...).
     Here is a screenshot from the sample:

As usual let me know if you need help. The code works on both Windows Phone 7.1 and Windows Phone 8 SDK.

SOURCE CODE


Monday, 18 March 2013

How to debug Windows Phone HTML5 Apps

  Debugging HTML applications is never an easy task and until today I did not know how to approach this for Windows Phone HTML5. The technique I will describe in this post can be applied also for Windows Phone 7.1 applications using Phonegap or Android/iOS applications.
   The "secret" tool for debugging the html content inside our applications is called WEINRE which comes from WEb INspector REmote. Weinre is a debugger for web pages, like FireBug (for FireFox) and Web Inspector (for WebKit-based browsers), except it's designed to work remotely, and in particular, to allow you debug web pages on a mobile device such as a phone. 
    In order to install Winre you will need to download and install NodeJS


    Once you have installed NodeJS restart your machine this way you will be able to run the NodeJS commands from the command prompt. After restart open a command prompt window and run this command:
 npm install weinre -g  
This will install the Weinre package globally. This is what you should see in the Command Prompt window:


    When the installer has finished its work you are ready to run the Weinre server on your PC. Execute this command from the Command Prompt:
 weinre --boundHost -all- --debug -true  
    With these parameters Weinre should also open the firewall port. For more parameters have a look at this page. You can verify if the server started by opening a browser page and loading 127.0.01:8080 (8080 is the default port for Weinre). If you are seeing this page then the server is running:


   Now click on the Debug Client User Interface link where you will be able to see if any client is connected and debug the connected clients.
    Let's create the Windows Phone HTML5 application. Use the SDK template to create a new project, open the page index.html inside the folder Html and add this line to the head section:
 <script src="http://[the server ip]:8080/target/target-script-min.js#anonymous"></script>  
replace [the server ip] with the IP of the PC running the Winre server and run the application. If everything went as we expected in the Debug Client user Interface on the Server we should see one Target connected:
    Once the target Windows Phone page is connected you can inspect and change the DOM in real-time, execute javascripts:


    In this particular case I've only changed the background of the page but you can do whatever you want. Here you can find further details on how to use the Server User Interface.
    Using the Console panel you can execute arbitrary JavaScript expressions/statements. It also shows the output from various console methods, like console.log().


    This is pretty much everything. Simple and veryyyyyy useful if you need to debug your HTML5 windows phone applications.
    As usual don't hesitate to contact me if you have further questions.

NAMASTE